Discord task management bot
- mzns-bot koristi Discord kanale kao kontejnere za taskove.
- Taskovi su zapravo Discord tredovi, "kanali u kanalima", sa ikonicama kao statusima u nazivu.
- Svaki kontejner taskova, tj kanal, pripada nekom domenu/kategoriji.
Primer:
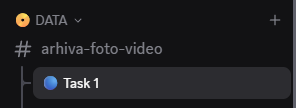
DATA je kategorija/domen,
# arhiva-foto-video je kanal,
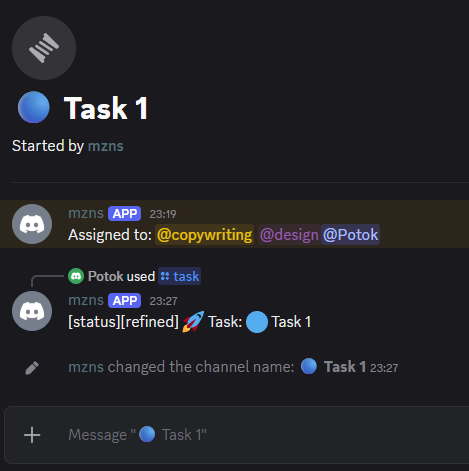
🔵Task1 je task/tred sa statusom 🔵 Refined
Koristi se pozivanjem bota: /task [komanda] gde komanda može biti:
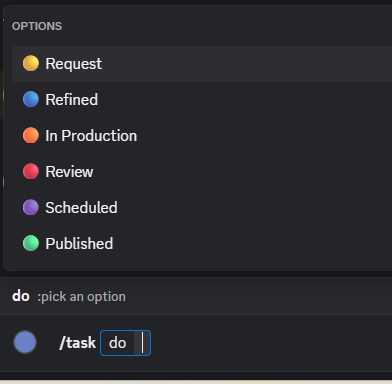
- 🟡 Request - Kreira novi task ako se pokrene iz kanala, a postavlja status taska ako se pokrene iz taska.
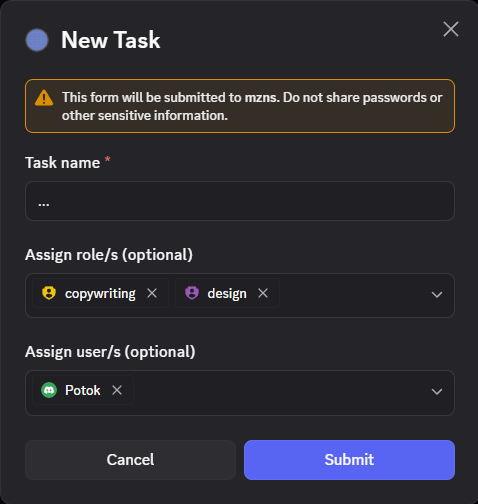
Prilikom kreiranja novog taska potrebno je popuniti dijalog nazivom taska i (po potrebi) rolama i/ili korisnicima koje je porebno obavestiti.
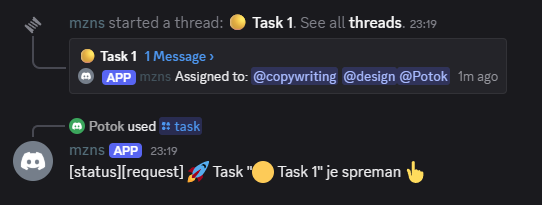
Klikom na "Submit" bot će kreirati task i u njemu takogavti odabrane role i/ili korisnike (ukoliko su odabrani u prethodnom koraku) i ostaviti info log poruku o kreiranom tasku.
- 🔵 Refined - Postavlja status taska i ostavlja info log poruku o promenjenom statusu.
- 🟠 In Production - Postavlja status taska i ostavlja info log poruku o promenjenom statusu.
- 🔴 Review - Postavlja status taska i ostavlja info log poruku o promenjenom statusu.
- 🟣 Scheduled - Postavlja status taska i ostavlja info log poruku o promenjenom statusu.
- 🟢 Published - Postavlja status taska i ostavlja info log poruku o promenjenom statusu.
Putem pretrage
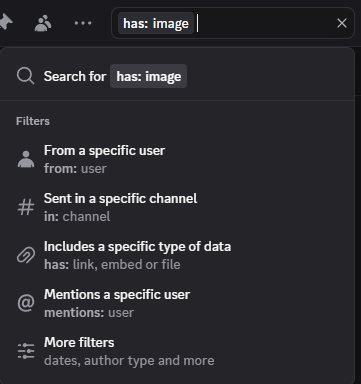
Pretraga je izvodljiva po različitim kriterijumima: from:, in:, has:, mentions:, pinned:, before:, during:, after: :
Kombinavanjem tih kriterijuma Discord može imati ulogu browsera ili galerije sadržaja koji tražimo.
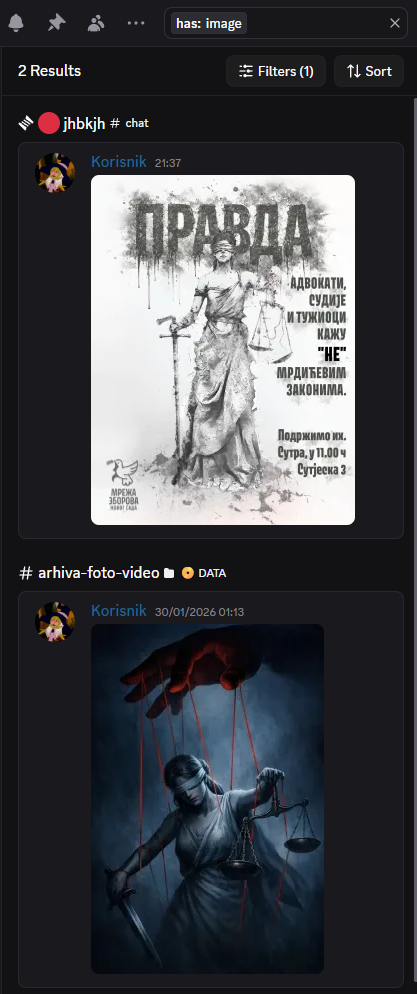
U sličaju has: image može poslužiti kao galerija fotigrafija sa svih kanala iz svih kategorija:
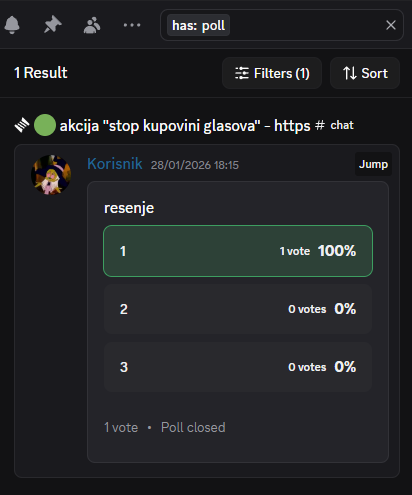
U sličaju has: poll može poslužiti kao pregled glasanja sa svih kanala iz svih kategorija :
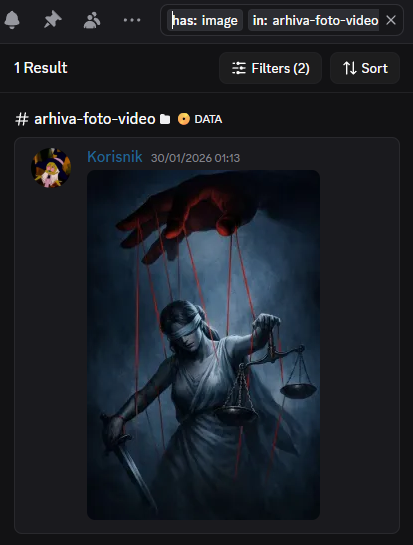
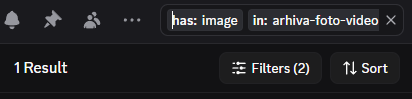
U sličaju has: image in: arhiva-foto-video može poslužiti kao galerija samo iz kanala #arhiva-foto-video:
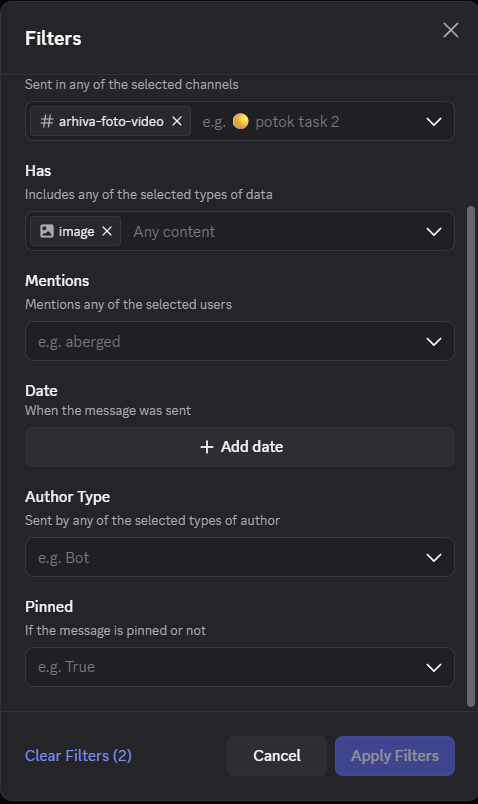
Za još detaljniju pretragu postoji Filters dugme koje otvara dijalog sa svim opcijama za pretragu:
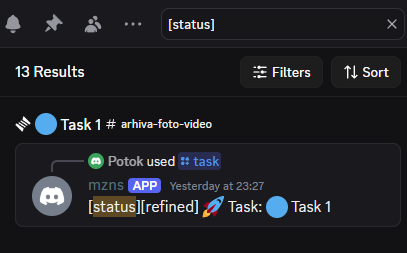
Info log olakšava tekstualnu pretragu koja daje hronološki niz promene statusa taskova. Npr:
Putem tagovanja/referenciranja/liknovanja
Message Forwarding
Forwardovana poruka ima link ka izvornom kanalu
Channel tagging
Event links
👇tech intro from discord starter app repository
Getting Started app for Discord
# Getting Started app for DiscordThis project contains a basic rock-paper-scissors-style Discord app written in JavaScript, built for the getting started guide.

Below is a basic overview of the project structure:
├── examples    -> short, feature-specific sample apps
│   ├── app.js  -> finished app.js code
│   ├── button.js
│   ├── command.js
│   ├── modal.js
│   ├── selectMenu.js
├── .env.sample -> sample .env file
├── app.js      -> main entrypoint for app
├── commands.js -> slash command payloads + helpers
├── game.js     -> logic specific to RPS
├── utils.js    -> utility functions and enums
├── package.json
├── README.md
└── .gitignore
Before you start, you'll need to install NodeJS and create a Discord app with the proper permissions:
applications.commandsbot(with Send Messages enabled)
Configuring the app is covered in detail in the getting started guide.
First clone the project:
git clone https://github.com/discord/discord-example-app.git
Then navigate to its directory and install dependencies:
cd discord-example-app
npm install
Fetch the credentials from your app's settings and add them to a .env file (see .env.sample for an example). You'll need your app ID (APP_ID), bot token (DISCORD_TOKEN), and public key (PUBLIC_KEY).
Fetching credentials is covered in detail in the getting started guide.
🔑 Environment variables can be added to the
.envfile in Glitch or when developing locally, and in the Secrets tab in Replit (the lock icon on the left).
The commands for the example app are set up in commands.js. All of the commands in the ALL_COMMANDS array at the bottom of commands.js will be installed when you run the register command configured in package.json:
npm run register
After your credentials are added, go ahead and run the app:
node app.js
⚙️ A package like
nodemon, which watches for local changes and restarts your app, may be helpful while locally developing.
If you aren't following the getting started guide, you can move the contents of examples/app.js (the finished app.js file) to the top-level app.js.
The project needs a public endpoint where Discord can send requests. To develop and test locally, you can use something like ngrok to tunnel HTTP traffic.
Install ngrok if you haven't already, then start listening on port 3000:
ngrok http 3000
You should see your connection open:
Tunnel Status                 online
Version                       2.0/2.0
Web Interface                 http://127.0.0.1:4040
Forwarding                    https://1234-someurl.ngrok.io -> localhost:3000

Connections                  ttl     opn     rt1     rt5     p50     p90
                              0       0       0.00    0.00    0.00    0.00
Copy the forwarding address that starts with https, in this case https://1234-someurl.ngrok.io, then go to your app's settings.
On the General Information tab, there will be an Interactions Endpoint URL. Paste your ngrok address there, and append /interactions to it (https://1234-someurl.ngrok.io/interactions in the example).
Click Save Changes, and your app should be ready to run 🚀
- Read the documentation for in-depth information about API features.
- Browse the
examples/folder in this project for smaller, feature-specific code examples - Join the Discord Developers server to ask questions about the API, attend events hosted by the Discord API team, and interact with other devs.
- Check out community resources for language-specific tools maintained by community members.
deploy to gcloud run - gcloud run deploy --source .