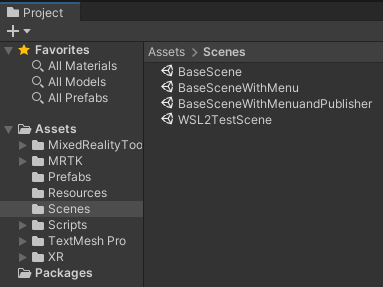
This project provides a few scenes. If you would like to start with a scene that has everything set up for building a project for the HoloLens 2, then choose either BaseScene or BaseSceneWithMenu.
Side Note: This also contains the scene called WSL2TestScene for testing the connection between WSL2 and the HoloLens.
BaseSceneWithMenu has the IP Address keypad and menu as shown in this video. If you would like to add the Keypad and Menu to your own project, follow the directions below.
From this project, copy the folders called Prefabs and Scripts into your Unity project. Make sure you have the following MRTK and Unity Robotics Hub packages installed:
- Mixed Reality Toolkit Examples
- Mixed Reality Toolkit Extensions
- Mixed Reality Toolkit Foundation
- Mixed Reality Toolkit Standard Assets
- Mixed Reality OpenXR Plugin
- Unity Robotics Hub TCP Connector (currently using v0.7.0)
Add the following prefabs to your scene hierarchy.

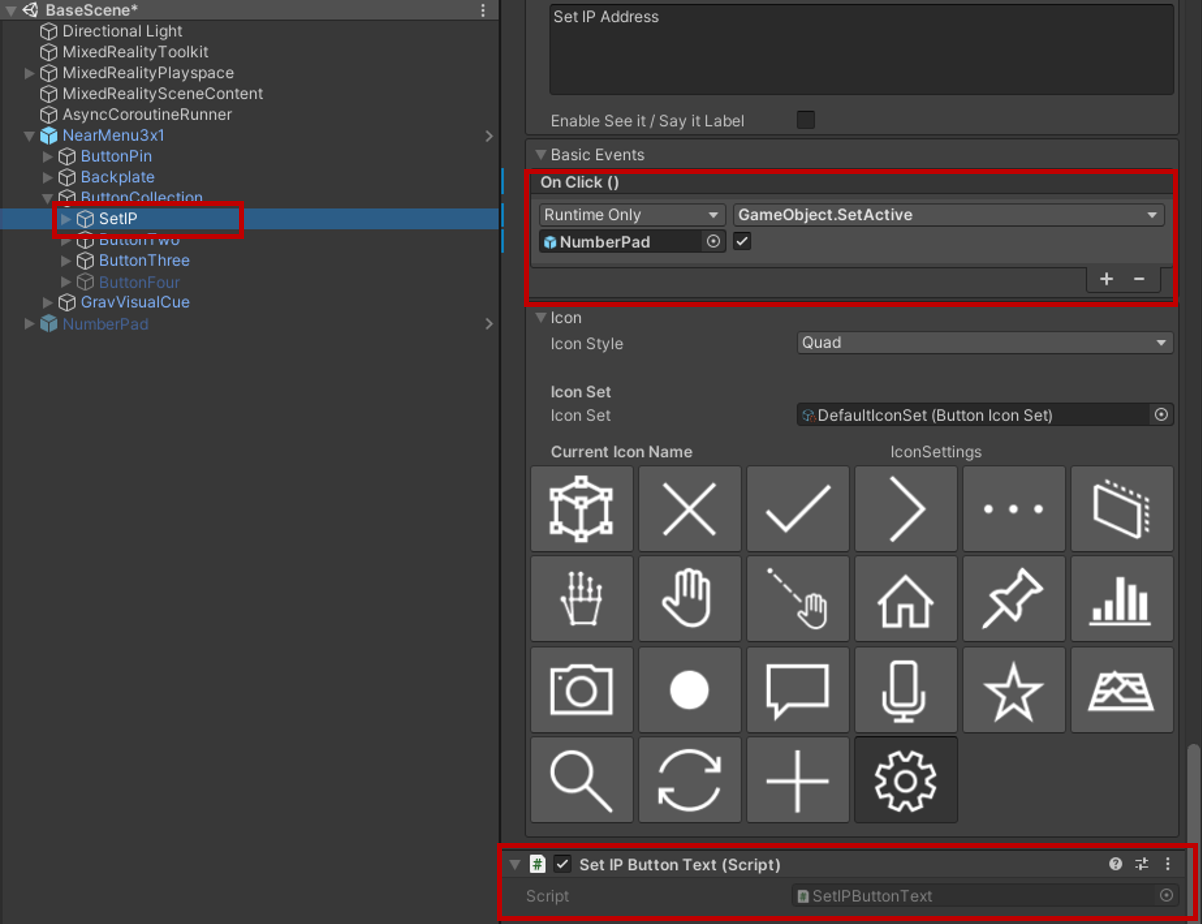
Then go to the NearMenu3x1 game object and navigate to SetIP. In there, add the SetIPButtonText script (which should already be there). Then at Basic Events, add an On Click() event and add the NumberPad game object. Then click on the GameObject.SetActive function and make sure the box is checked below it.
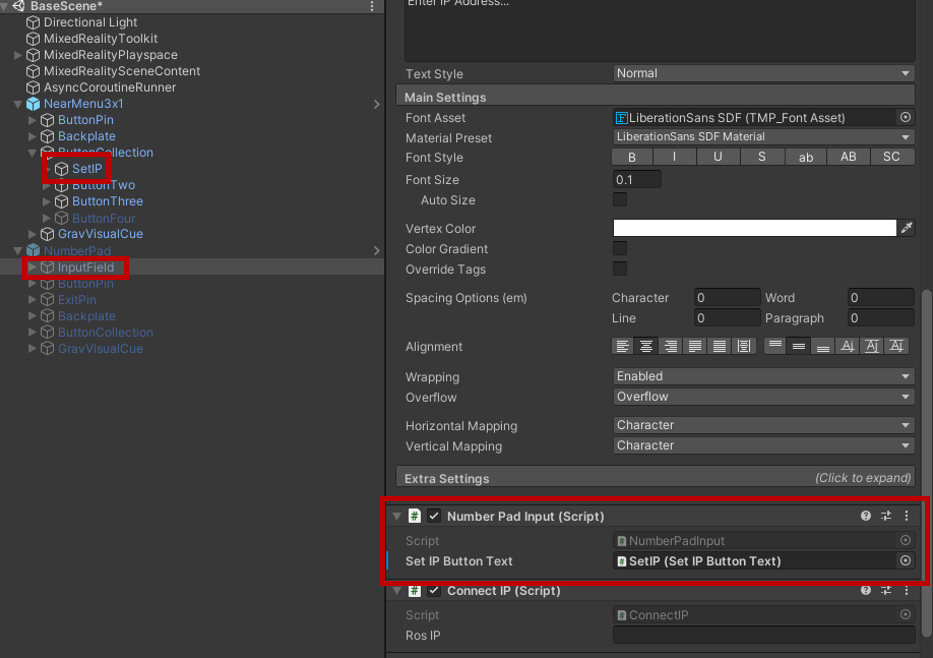
Lastly, in the NumberPad game object, go to InputField and drag the SetIP button from the previous step to the field in Number Pad Input.
From here you should be good to go! You can click on Robotics->ROS Settings and toggle the Connect on Startup or change the default ROS IP Address before uploading this build to a Hololens 2.