My new other commit
This is the repository for the backend code of the IE Bank web app

This source code works under the following technologies:
- Python 3.11.5
- Flask 2.2.2
- Flask-Cors 3.0.10
- Flask-SQLAlchemy 2.5.1
- psycopg2 2.9.7
- python-dotenv 0.21.0
- SQLAlchemy 1.4.41
- SQL Lite 3.43.0
- Flask
- Flask on VS Code
- Linkedin Learning: Building RESTful APIs with Flask
- SQLite
- Install git. Install git from here.
- Install Python. Install Python 3.11.5 from here. Make sure to select the option to add Python to your PATH while installing.
- Install VSCode. Install VSCode from here.
- Install Python VSCode extension. Install the Python extension for VSCode from here.
- Install SQL Lite. Install SQL Lite from here. SQLite provides various tools for working across platforms e.g., Windows, Linux, and Mac. You need to select an appropriate version to download. After downloading:
- On Windows, unzip the downloaded file into a directory (e.g.,
C:\sqlite). Add theC:\sqlitedirectory to your PATH environment variable. - On Linux, open a terminal and run the command
sudo apt-get install sqlite3. - On MacOS, open a terminal and run the command
brew install sqlite3.
- On Windows, unzip the downloaded file into a directory (e.g.,
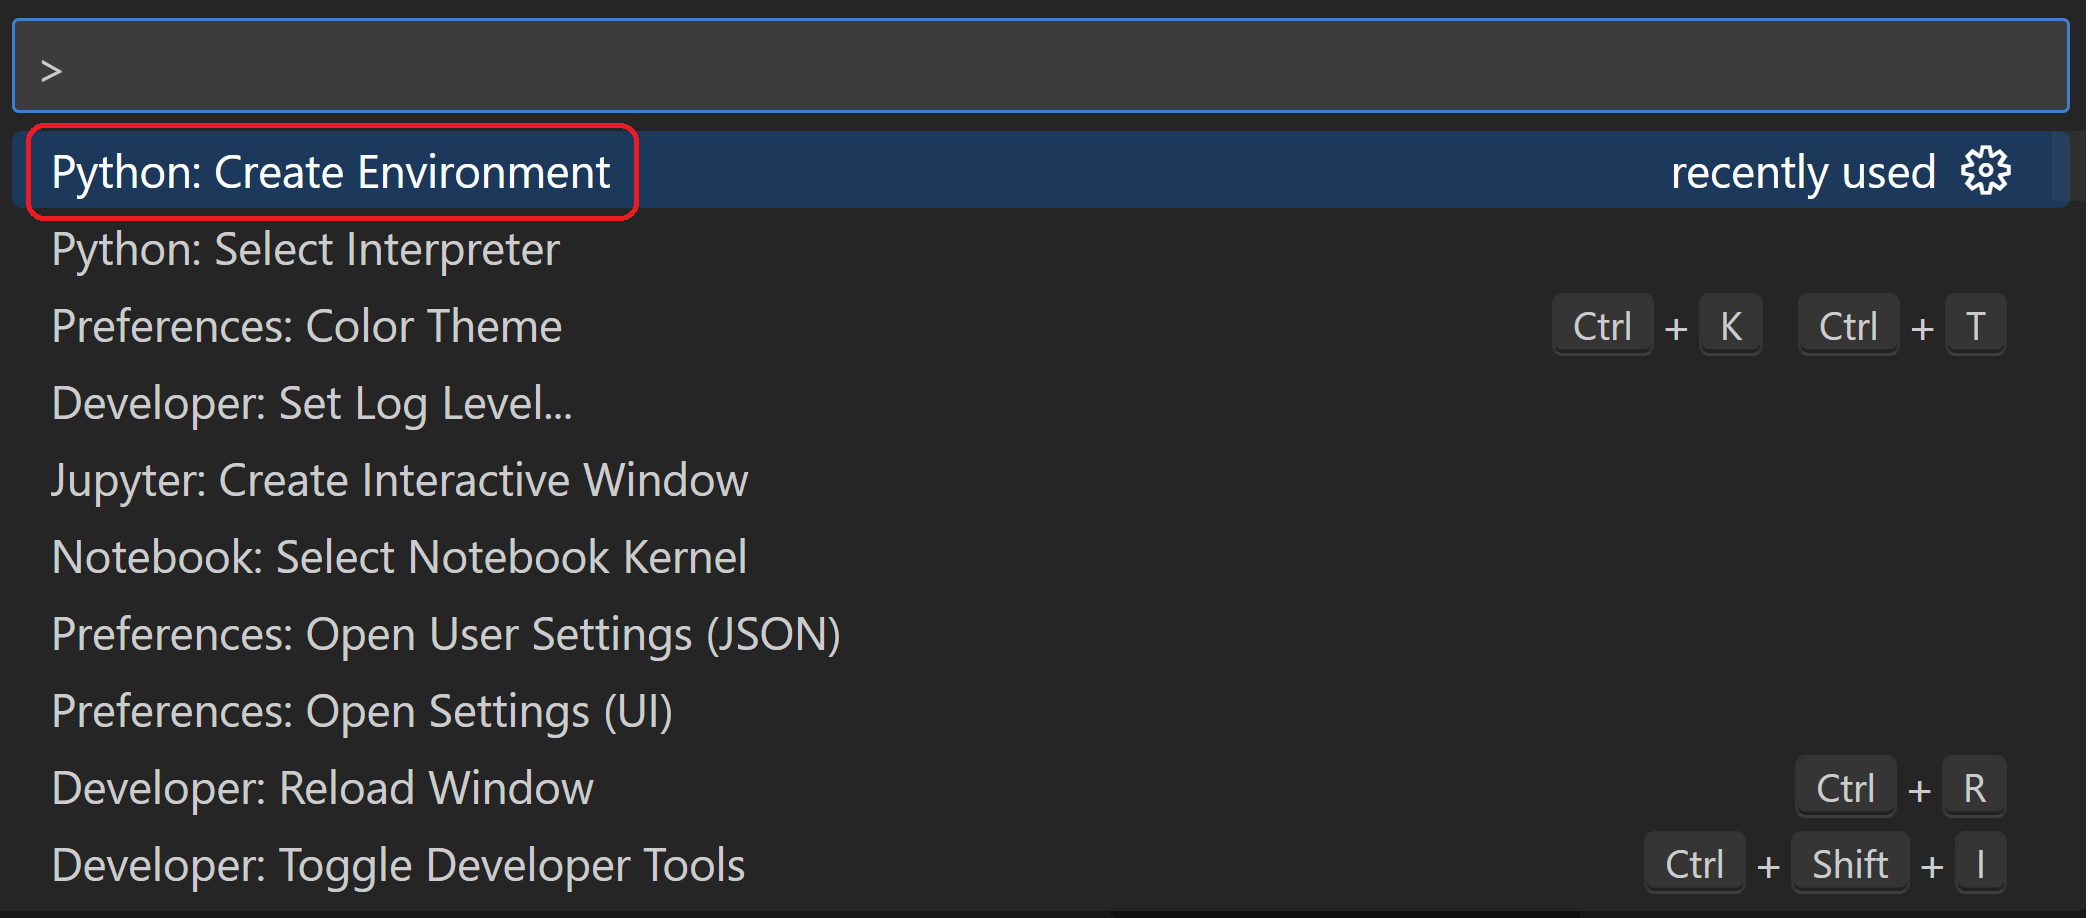
- Create the virtual environment. In VS Code, open the Command Palette (
View>Command Paletteor [Ctrl+Shift+P]). Then select thePython: Create Environmentcommand to create a virtual environment in your workspace. Selectvenvand then the Python environment you want to use to create it.
- Activate your virtual environment. After your virtual environment creation has been completed, run Terminal: Create New Terminal [
Ctrl+Shift+`]) from the Command Palette, which creates a terminal and automatically activates the virtual environment by running its activation script. - Install Flask in the virtual environment. In the VS Code Terminal, run the following command:
$ python -m pip install flaskYou now have a self-contained environment ready for writing Flask code. VS Code activates the environment automatically when you use Terminal: Create New Terminal.
- Debug the app locally. In VS Code, switch to the
Run and Debugview (using the left-side activity bar orCtrl+Shift+D). You may see the message "To customize Run and Debug create a launch.json file". VS Code can create that for you if you click on the create a launch.json file link:

- Set and run debug configuration for
Flask. Select the link and VS Code will prompt for a debug configuration. SelectPythonand theFlaskfrom the dropdown and VS Code will populate a newlaunch.jsonfile in the.vscodefolder with a Flask run configuration. Thelaunch.jsonfile contains a number of debugging configurations, each of which is a separate JSON object within the configuration array. Edit the.vscode/launch.jsonconfiguration file with the snippet below and save (Ctrl+S).
{
    // Use IntelliSense to learn about possible attributes.
    // Hover to view descriptions of existing attributes.
    // For more information, visit: https://go.microsoft.com/fwlink/?linkid=830387
    "version": "0.2.0",
    "configurations": [
        {
            "name": "IE Bank Backend",
            "type": "python",
            "request": "launch",
            "module": "flask",
            "env": {
                "FLASK_APP": "app.py",
                "FLASK_DEBUG": "1",
                "ENV": "local",
                "DBUSER":"",
                "DBPASS":"",
                "DBHOST":"",
                "DBNAME":""
            },
            "args": [
                "run",
                "--no-debugger",
                "--no-reload"
            ],
            "jinja": true,
            "justMyCode": true
        }
    ]
}- Run and Debug your application locally. Set a breakpoint in any of the
.pyfiles. Go to the Debug view, select the 'Python: Flask' configuration, then press F5 or click the green play button.
Learn more: Flask configuration handling
When running the application in VSCode, the .vscode/launch.json file well set environment variables as configured in the env section:
 "env": {
                "FLASK_APP": "app.py",
                "FLASK_DEBUG": "1",
                "ENV": "local"
            },
This python app will read the environment variables in the iebank_api\__init__.py file. This file will load different variables depending on the value of the ENV variable read in the running machine.
# Select environment based on the ENV environment variable
if os.getenv('ENV') == 'local':
    print("Running in local mode")
    app.config.from_object('config.LocalConfig')
elif os.getenv('ENV') == 'dev':
    print("Running in development mode")
    app.config.from_object('config.DevelopmentConfig')
elif os.getenv('ENV') == 'ghci':
    print("Running in github mode")
    app.config.from_object('config.GithubCIConfig')
else:
    print("Running in production mode")
    app.config.from_object('config.ProductionConfig')
The configuration that will be loaded is defined in the config.py file.
class LocalConfig(Config):
    basedir = os.path.abspath(os.path.dirname(__file__))
    SQLALCHEMY_DATABASE_URI = 'sqlite:///' + os.path.join(basedir,'.db', 'local.db')
    DEBUG = True

class GithubCIConfig(Config):
    SQLALCHEMY_DATABASE_URI = 'sqlite:///test.db'
    DEBUG = True

class DevelopmentConfig(Config):
    SQLALCHEMY_DATABASE_URI = 'postgresql://{dbuser}:{dbpass}@{dbhost}/{dbname}'.format(
    dbuser=os.getenv('DBUSER'),
    dbpass=os.getenv('DBPASS'),
    dbhost=os.getenv('DBHOST'),
    dbname=os.getenv('DBNAME')
    )
DEBUG = TrueLearn more:
The file .github/workflows/ie-bank-backend.yml contains the configuration for the CI/CD pipeline
The workflow uses the following GitHub secrets:
| Secret name | Description | Learn more |
|---|---|---|
AZURE_CREDENTIALS |
Azure credentials to authenticate to Azure via Service Principal | Use the Azure login action with a service principal secret |