
Get social is a society that organises social events for people.
The society uses the website to display the events. Users can view these events and find out more about the events they like. If a user wants to attend an event, they can make a booking as long as the event isn't fully booked.
Admins can add new events to the website. They can also edit and delete existing events.
Go to the project and click the Code button. The project can be cloned by copying the link under HTTPS and using the clone command in gitbash as shown below:
$ git clone https://github.com/YOUR-USERNAME/YOUR-REPOSITORY
Configure the webserver so that it points to the /public directory of the project. This is done by changing the DocumentRoot to <path_to_project>\public
Create a new database for the application in MySQL. Make a note of the username, database name and password chosen as these will be used later.
Install composer by running the commands below in your terminal:
php -r "copy('https://getcomposer.org/installer', 'composer-setup.php');"
php -r "if (hash_file('sha384', 'composer-setup.php') === '906a84df04cea2aa72f40b5f787e49f22d4c2f19492ac310e8cba5b96ac8b64115ac402c8cd292b8a03482574915d1a8') { echo 'Installer verified'; } else { echo 'Installer corrupt'; unlink('composer-setup.php'); } echo PHP_EOL;"
php composer-setup.php
php -r "unlink('composer-setup.php');"
Run the command below in order to run Composer:
php composer.phar
Go to https://nodejs.org/dist/latest-v16.x/ and download and unzip the correct version for your device.
Add node to your path by running the command below in your terminal (Replace drive letter C with D if you are using a USB):
set PATH=C:\node;%PATH%
This can be done by running the commands:
npm install
npm run dev
Copy the .env.example file to the .env file. Change the DB_DATABASE, DB_USERNAME, DB_PASSWORD to the correct details of the database created earlier.
Make the migrations by using the command below. Migrations are used by the database to create the database tables.
php artisan migrate
Seed the database using the command below. This is done to insert fake data into the database.
php artisan db:seed
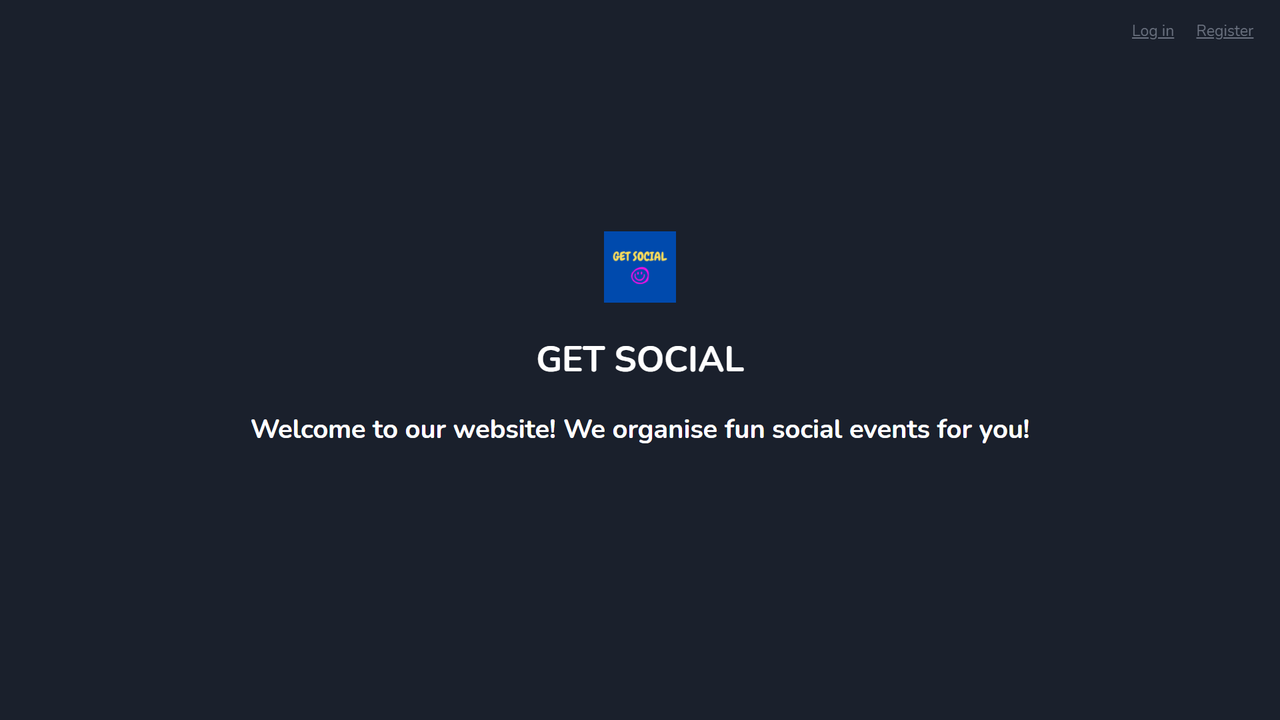
Go to your web browser and go to localhost to access the project. The Home page of the application should be seen as shown below:
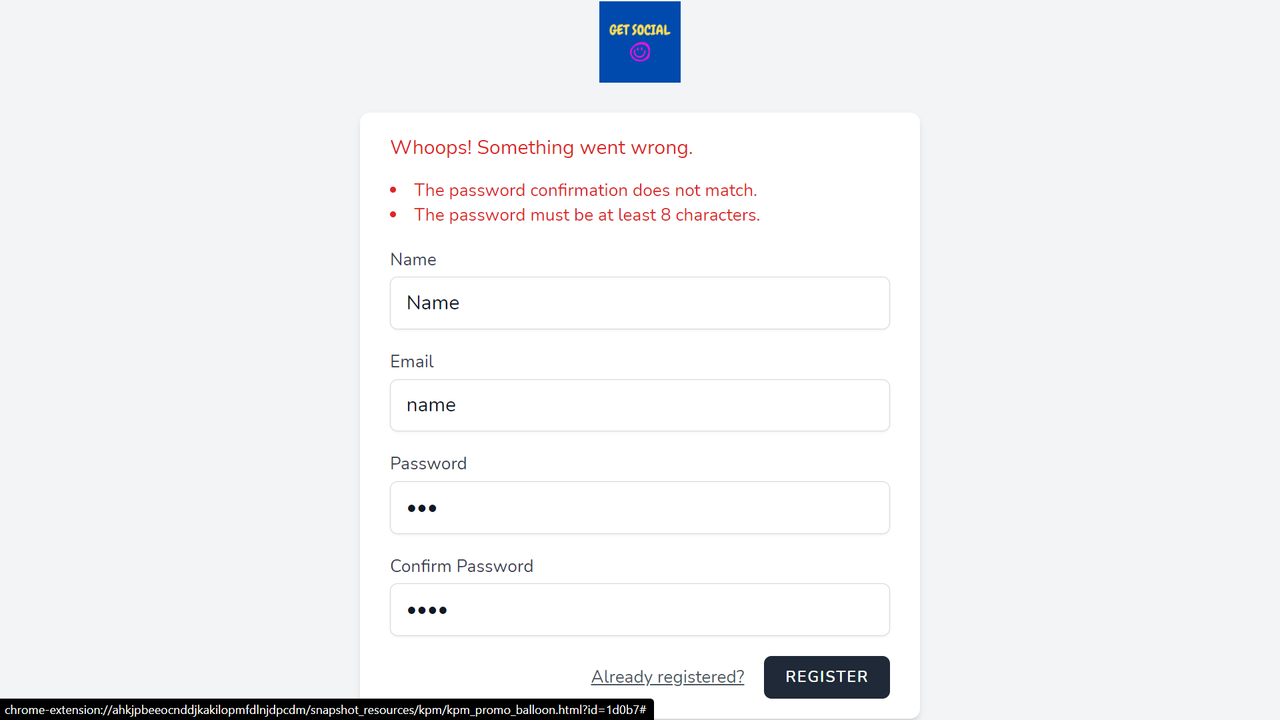
To register as a new user, click on the "Register" link at the top right of the home page. Enter the details to create an account. Ensure to enter a valid email address and a password of atleast 8 characters that matches the confirm password field. If done incorrectly, the errors shown below will be seen:
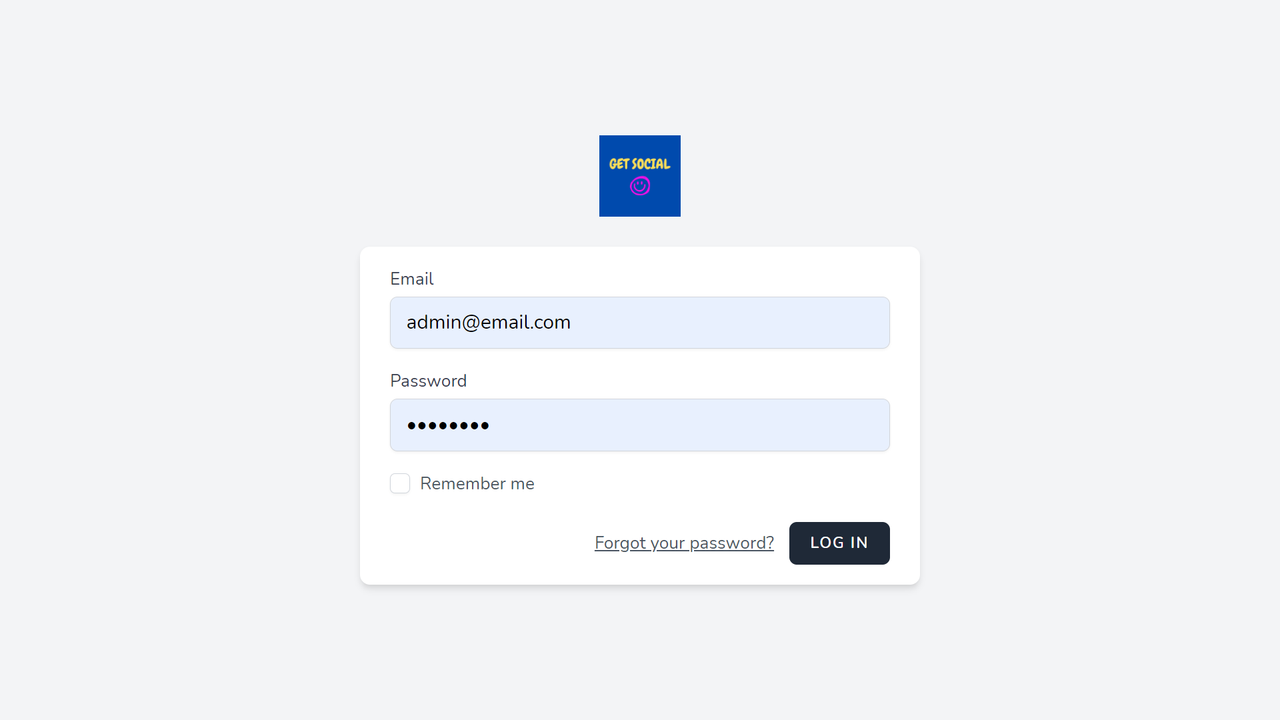
Click on the "Log in" link in the top right corner and log in to the system using email="admin@email.com" and password="password". This means that the system will be accessed with admin permissions.
This will take you to the dashboard. Here you can see the options to add a new event or view existing events.
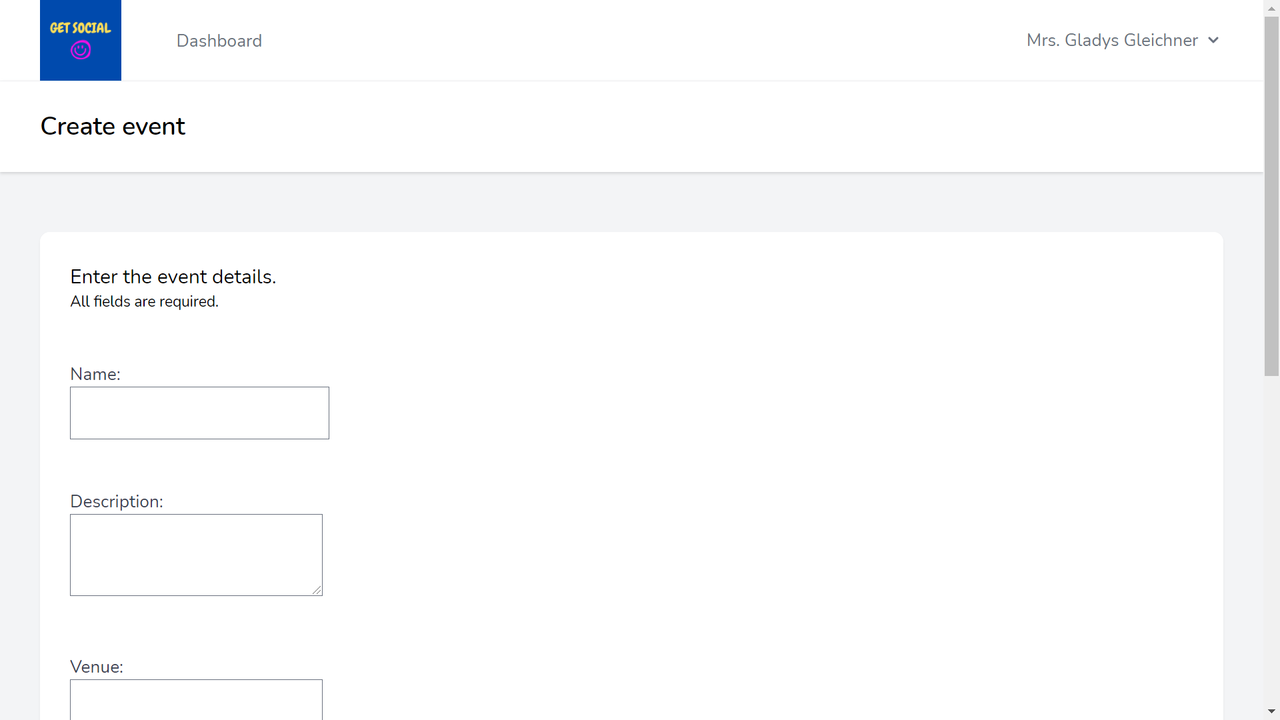
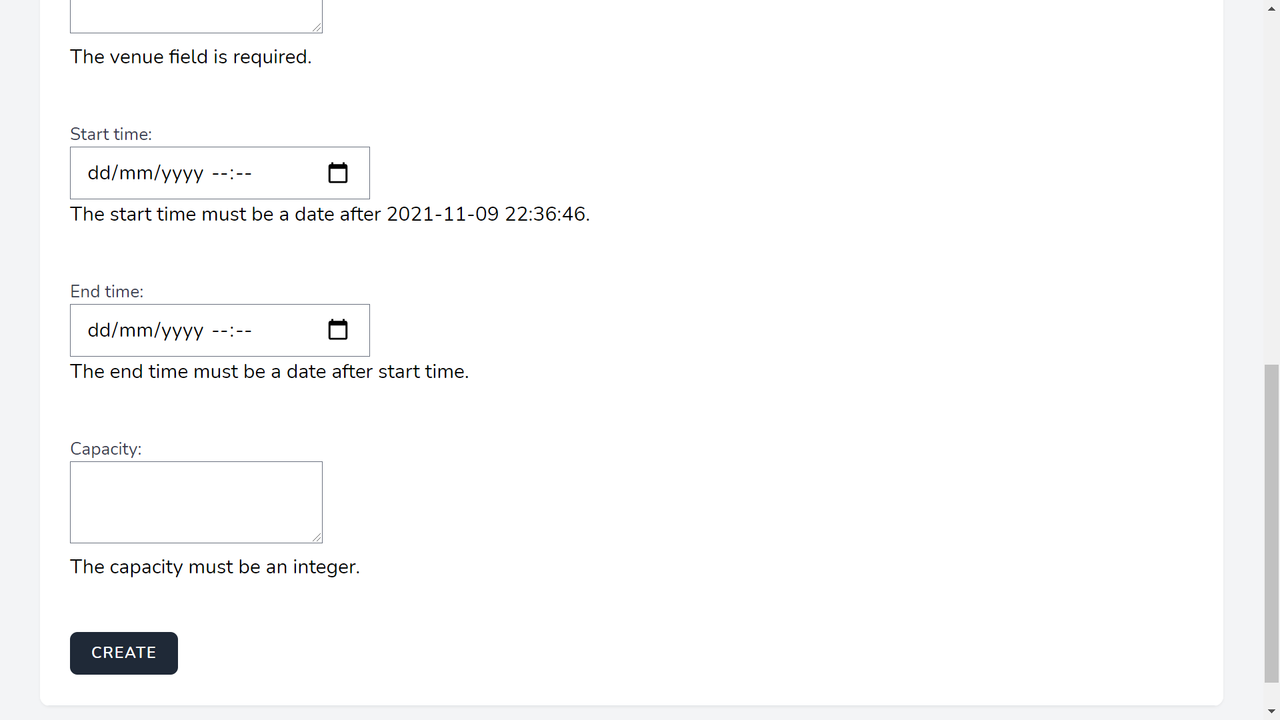
To create a new event click on "Add event". This will take you to the creating events form. All the fields in the form are required.
Enter the details of the new event, ensuring that the end time is after the start time and the capacity is an integer. Validation checks are done on the input so the form will not submit and display the errors if the input is incorrect. This can be seen below:
Once the event has been submitted, you will be redirected to the events page where you should be able to see the newly added event.
The events page shows all upcoming events (past events are not shown) in chronological order. The name, description and start times of the events are shown on the events page. To view more details (i.e. end time, venue, capacity) of an event, click on the show link.
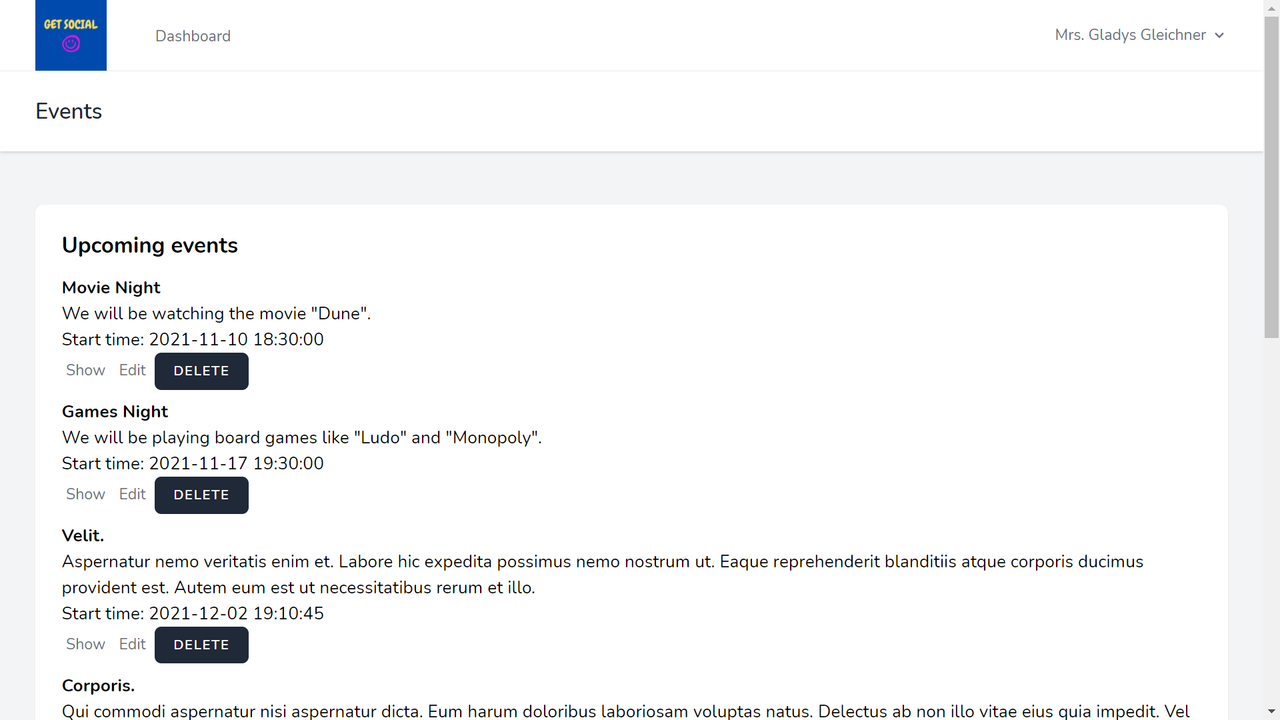
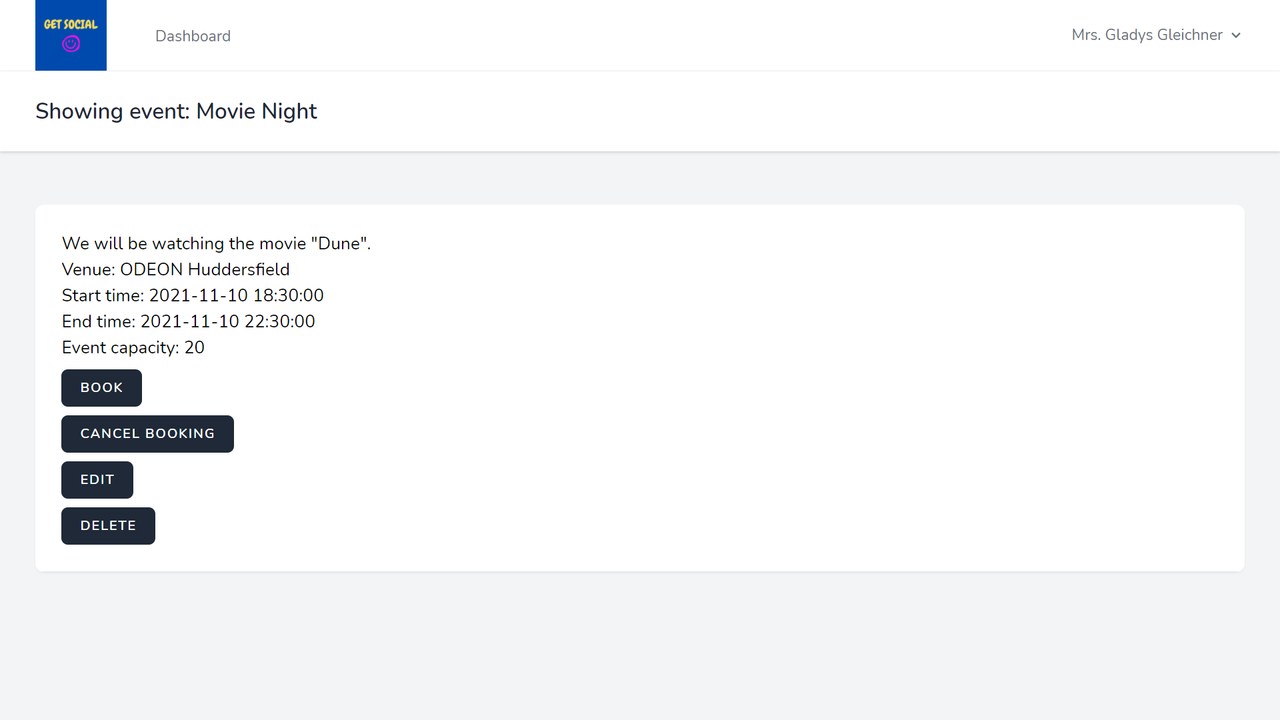
Events can be edited and/or deleted by admins from both the "events" page and the "show event" page. The regular users can not see the edit and delete buttons.
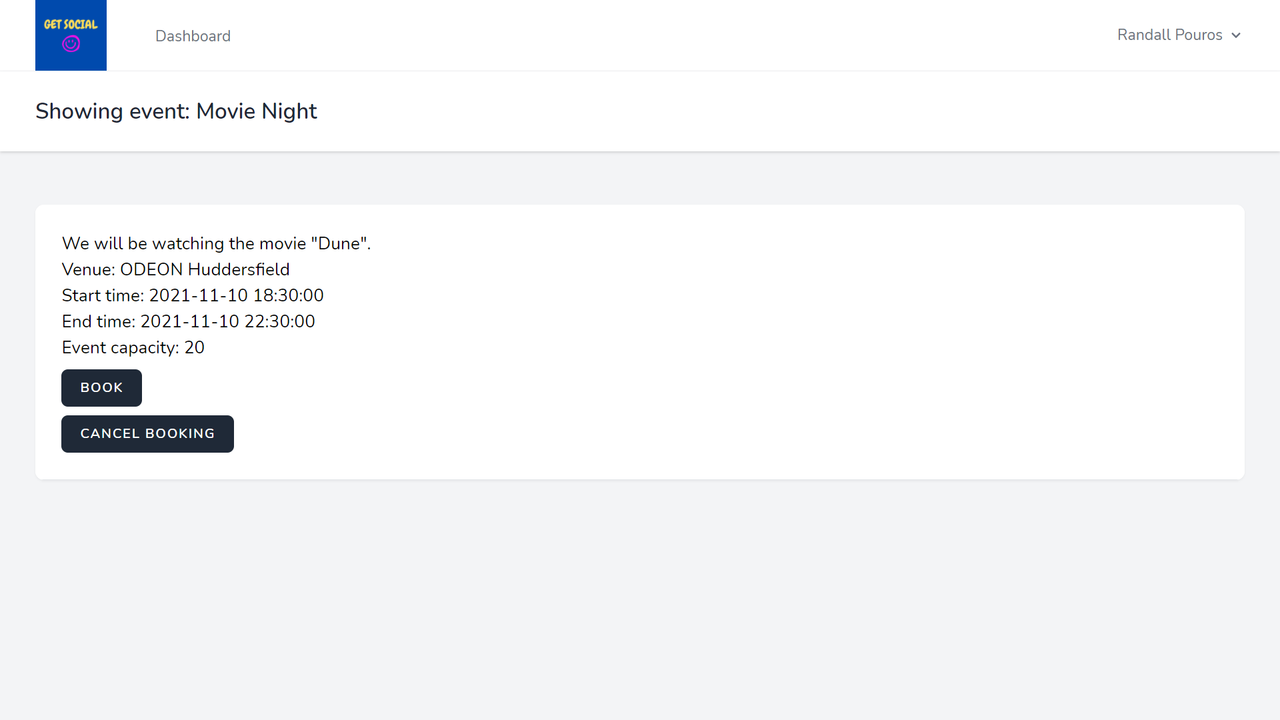
To book an event click on the "show" link for an event. Here a "Book" button can be seen under the details of the event. Clicking on this button will create a booking for the logged in user at the event shown on the page.
If the book button is clicked when an event is already booked, the request will fail validation and the user will be informed that they have already booked the event
To cancel a booking, the show event page for the booked event can be clicked. A "Cancel Booking" button can be seen under the event. This button can be clicked to cancel the booking.
If a user tries to cancel a booking that doesn't exist, the error message from the failed validation will be shown.
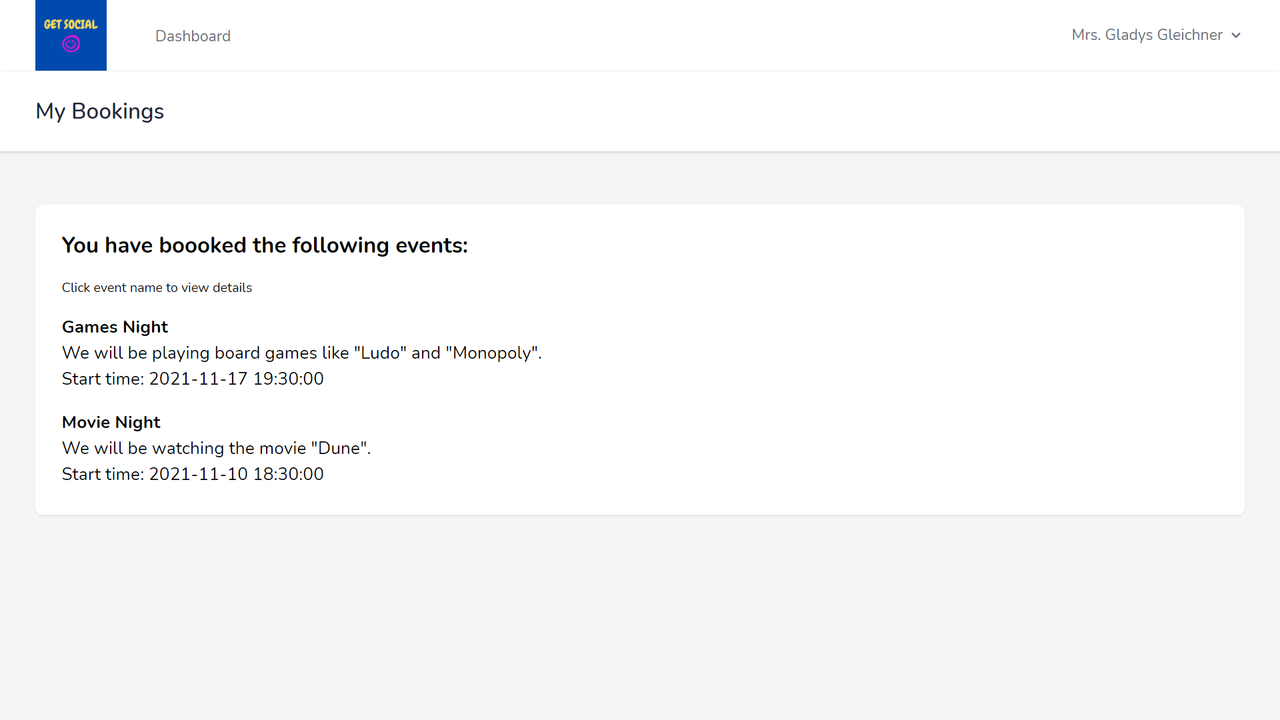
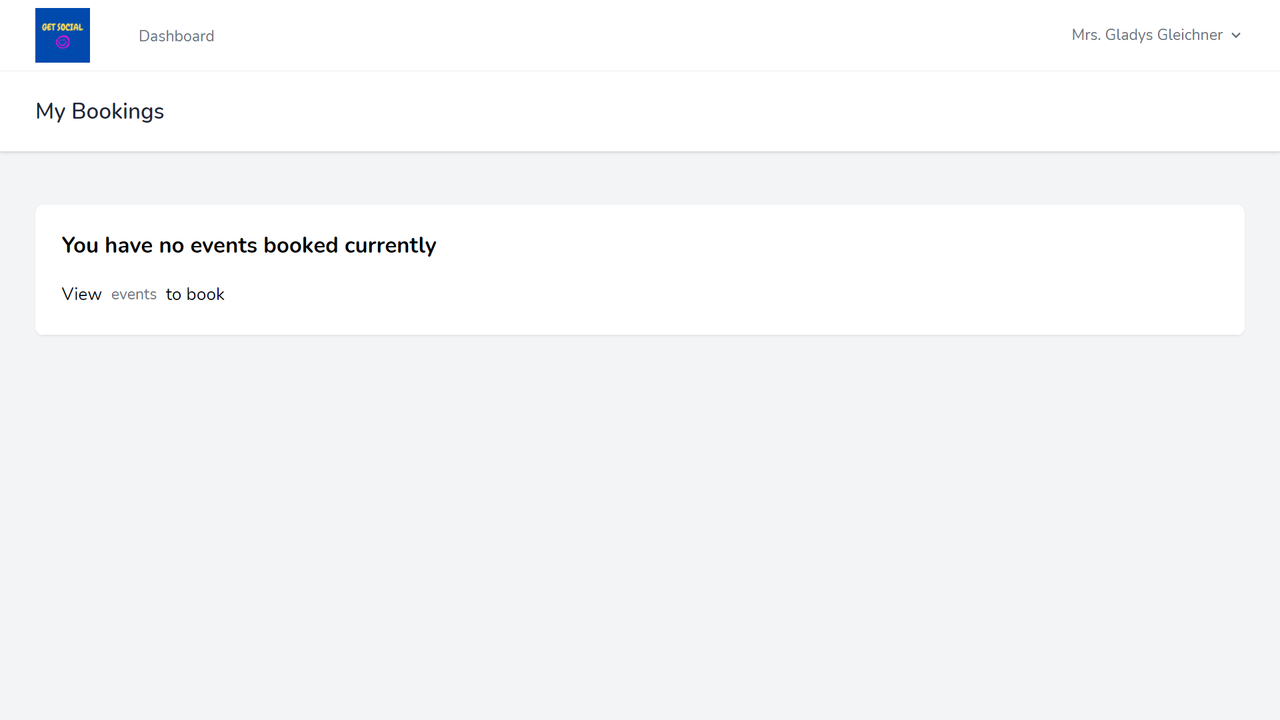
A user can view all the events they have booked by clicking on "My bookings". The event's name can be clicked on to view its details.
If the user hasn't booked any events, this page will show the following:
The application can be tested by running the following command in Git Bash:
php artisan test
This will produce a list of all the tests written for the application and show the passed tests with a check mark.