


MiniBook is a simple tool that creates a minibook from a list of links. It generates a clean, responsive HTML webpage using Jinja2 templates and Tailwind CSS.
Get started with MiniBook in just a few steps!
Install MiniBook from PyPI:
pip install minibookCreate a beautiful HTML page with your favorite links:
minibook --title "My Favorite Sites" \
         --output "my-minibook" \
         --links '{"Python": "https://www.python.org", "GitHub": "https://www.github.com", "Wikipedia": "https://www.wikipedia.org"}'
This command will:
- Create a directory called
my-minibook - Generate an
index.htmlfile with your links - Create a beautiful, responsive webpage
Open the generated HTML file in your browser:
open my-minibook/index.htmlOr serve it with a local web server:
cd my-minibook
python3 -m http.server 8000
# Then open http://localhost:8000 in your browserYour minibook will look like this:
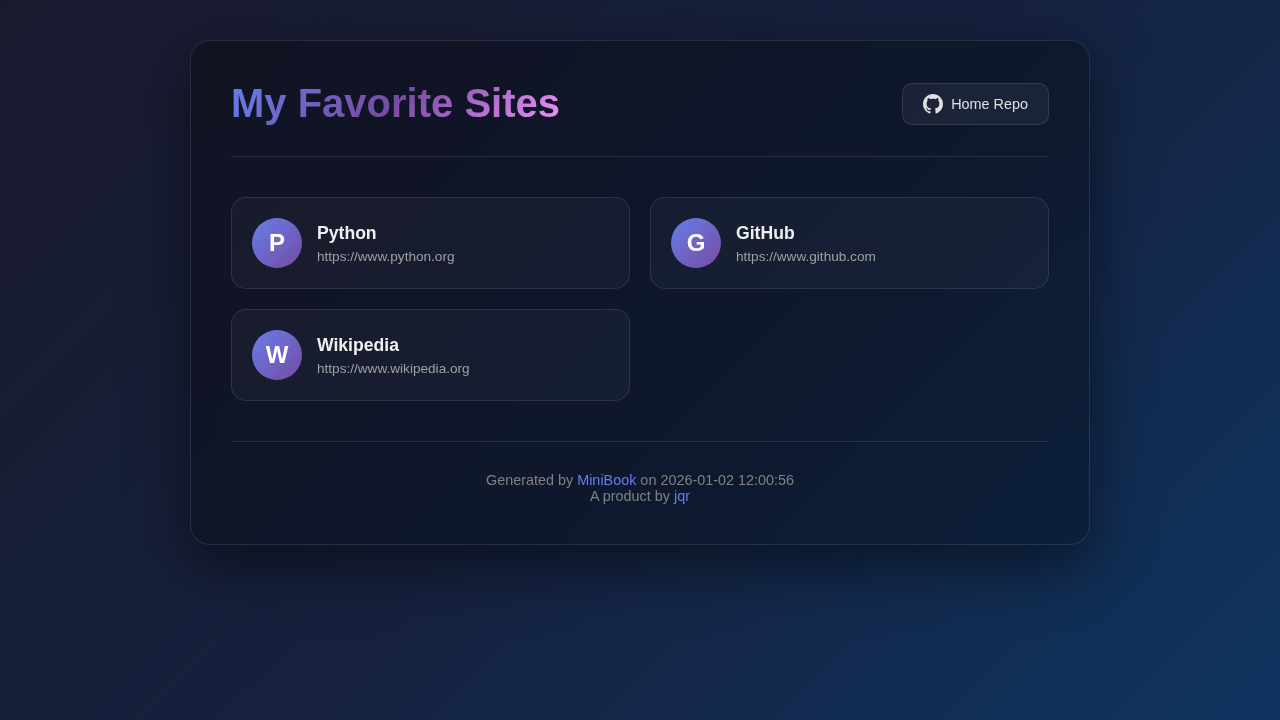
The generated page features:
- 🎨 Beautiful gradient design with dark theme
- 📱 Fully responsive layout
- 🔗 Clickable link cards with hover effects
- 🌓 Theme toggle (dark/light mode)
- ⚡ Fast loading with Tailwind CSS
MiniBook can be used to create an HTML page from a list of links.
Create an HTML page with a custom title and three links:
minibook --title "My Favorite Sites" \
         --output "artifacts" \
--links '{"python": "https://www.python.org", "github": "https://www.github.com", "wikipedia": "https://www.wikipedia.org"}'MiniBook supports several JSON formats for the links parameter:
- Dictionary Format (used in previous examples):
minibook --title "My Favorite Sites" \
         --output "artifacts" \
--links '{"python": "https://www.python.org", "github": "https://www.github.com", "wikipedia": "https://www.wikipedia.org"}'- List of Objects Format:
minibook --title "My Favorite Sites" \
         --output "artifacts" \
--links '[{"name": "Python", "url": "https://www.python.org"}, {"name": "GitHub", "url": "https://www.github.com"}, {"name": "Wikipedia", "url": "https://www.wikipedia.org"}]'- List of Arrays Format:
minibook --title "My Favorite Sites" \
         --output "artifacts" \
--links '[["Python", "https://www.python.org"], ["GitHub", "https://www.github.com"], ["Wikipedia", "https://www.wikipedia.org"]]'- Multi-line JSON Format (useful in YAML files):
minibook --title "My Favorite Sites" \
         --output "artifacts" \
         --links '{
           "Python": "https://www.python.org",
           "GitHub": "https://www.github.com",
           "Wikipedia": "https://www.wikipedia.org"
         }'
These formats allow you to specify different names for each link, rather than using the URL as the name.
You can validate that all links are accessible before creating the minibook:
minibook --title "My Favorite Sites" \
         --output "artifacts" \
         --links '{"python": "https://www.python.org", "github": "https://www.github.com"}' \
         --validate-links
This will check each link to ensure it's accessible. If any links are invalid, you'll be prompted to continue or abort.
MiniBook supports multiple output formats beyond HTML. Use the --format option to specify the desired format:
| Format | Extension | Description |
|---|---|---|
html |
.html |
Beautiful HTML with Tailwind CSS (default) |
markdown / md |
.md |
Markdown format |
json |
.json |
Structured JSON data |
rst |
.rst |
reStructuredText format |
asciidoc / adoc |
.adoc |
AsciiDoc format |
pdf |
.pdf |
PDF document (requires fpdf2) |
epub |
.epub |
EPUB ebook (requires ebooklib) |
Examples:
Generate Markdown output:
minibook --title "My Links" \
         --output "artifacts" \
         --format markdown \
         --links '{"Python": "https://www.python.org"}'
Generate JSON output:
minibook --title "My Links" \
         --output "artifacts" \
         --format json \
         --links '{"Python": "https://www.python.org"}'
Generate PDF output (requires fpdf2):
pip install fpdf2
minibook --title "My Links" \
         --output "artifacts" \
         --format pdf \
--links '{"Python": "https://www.python.org"}'MiniBook is also available as a GitHub Action that you can use in your workflows to generate documentation sites.
To use the MiniBook action in your GitHub workflow:
- name: Generate Minibook
  uses: tschm/minibook/.github/actions/book@main
  with:
    title: "My Documentation"
    subtitle: "Documentation for my project"
    links: |
      {
        "GitHub": "https://github.com",
        "Tests": "./tests/index.html",
        "API Reference": "./api/index.html"
}| Input | Description | Required | Default |
|---|---|---|---|
title |
Title of the minibook | No | "My Links" |
subtitle |
Description of the minibook | No | "" |
links |
JSON formatted links | Yes | N/A |
template |
Path to a custom Jinja2 template file for HTML output | No | "" |
output |
Output directory for generated files | No | "artifacts" |
When using this action with GitHub Pages, you must set the following permissions in your workflow:
contents: read: To read repository contentspages: write: To deploy to GitHub Pagesid-token: write: For authentication during deployment
You must also set the environment to github-pages for GitHub Pages deployment:
Here's a complete workflow example that generates a minibook and deploys it to GitHub Pages:
# Workflow name - appears in the GitHub Actions UI
name: "Documentation"

# Trigger configuration - when should this workflow run
on:
  push:
    branches:
      - main  # Run only when changes are pushed to the main branch

# Permissions required for GitHub Pages deployment
permissions:
  contents: read  # Read access to repository contents
  pages: write    # Write access to GitHub Pages
  id-token: write # Write access to OIDC token for authentication

# Environment configuration for GitHub Pages
environment:
  name: github-pages  # Predefined GitHub Pages environment

# Jobs that make up this workflow
jobs:
  # Job to run tests and generate test reports
  test:
    runs-on: ubuntu-latest  # Use the latest Ubuntu runner
    steps:
      # Step 1: Check out the repository code
      - name: Checkout repository
        uses: actions/checkout@v4  # Official GitHub checkout action

      # Step 2: Run your test suite
      - name: Run tests
        # Your test execution step here
        # This could be another action or custom script
        # Example: run pytest, jest, or other test frameworks

      # Step 3: Upload test results as an artifact for later use
      - name: Upload test results
        uses: actions/upload-artifact@v4  # Official GitHub artifact upload action
        with:
          name: test-results  # Name of the artifact
          path: tests/        # Directory containing test results to upload

  # Job to generate API documentation
  pdoc:
    runs-on: ubuntu-latest  # Use the latest Ubuntu runner
    steps:
      # Step 1: Check out the repository code
      - name: Checkout repository
        uses: actions/checkout@v4  # Official GitHub checkout action

      # Step 2: Generate API documentation
      - name: Generate API docs
        # Your API documentation generation step here
        # This could be pdoc3, Sphinx, JSDoc, or other documentation tools
        # Example: pdoc --html --output-dir pdoc/ your_package/

      # Step 3: Upload API documentation as an artifact for later use
      - name: Upload API documentation
        uses: actions/upload-artifact@v4  # Official GitHub artifact upload action
        with:
          name: api-docs  # Name of the artifact
          path: pdoc/     # Directory containing API docs to upload

  # Job to build and to publish the book documentation
  book:
    runs-on: ubuntu-latest  # Use the latest Ubuntu runner
    needs: [test, pdoc]     # This job will only run after test and pdoc jobs complete successfully
    steps:
      # Generate Minibook and Deploy to GitHub Pages
      # The book action automatically downloads all artifacts from the jobs defined in needs
      - name: Generate Minibook and Deploy to GitHub Pages
        uses: tschm/minibook/.github/actions/book@main  # Use the minibook action
        with:
          # Title that appears at the top of the generated page
          title: "Project Documentation"
          # Subtitle/description that appears below the title
          subtitle: "Documentation and useful links for the project"
          # JSON object defining links to include in the minibook
          # Each key is the link text, and each value is the URL
          links: |
            {
              "GitHub": "https://github.com/username/repo",
              "API Reference": "./artifacts/api-docs/index.html",  # Link to the API docs artifact
              "Test Results": "./artifacts/test-results/html-report/report.html"  # Link to the test results artifact
}- 🍴 Fork the repository
- 🌿 Create your feature branch (git checkout -b feature/amazing-feature)
- 💾 Commit your changes (git commit -m 'Add some amazing feature')
- 🚢 Push to the branch (git push origin feature/amazing-feature)
- 🔍 Open a Pull Request